
Step 1
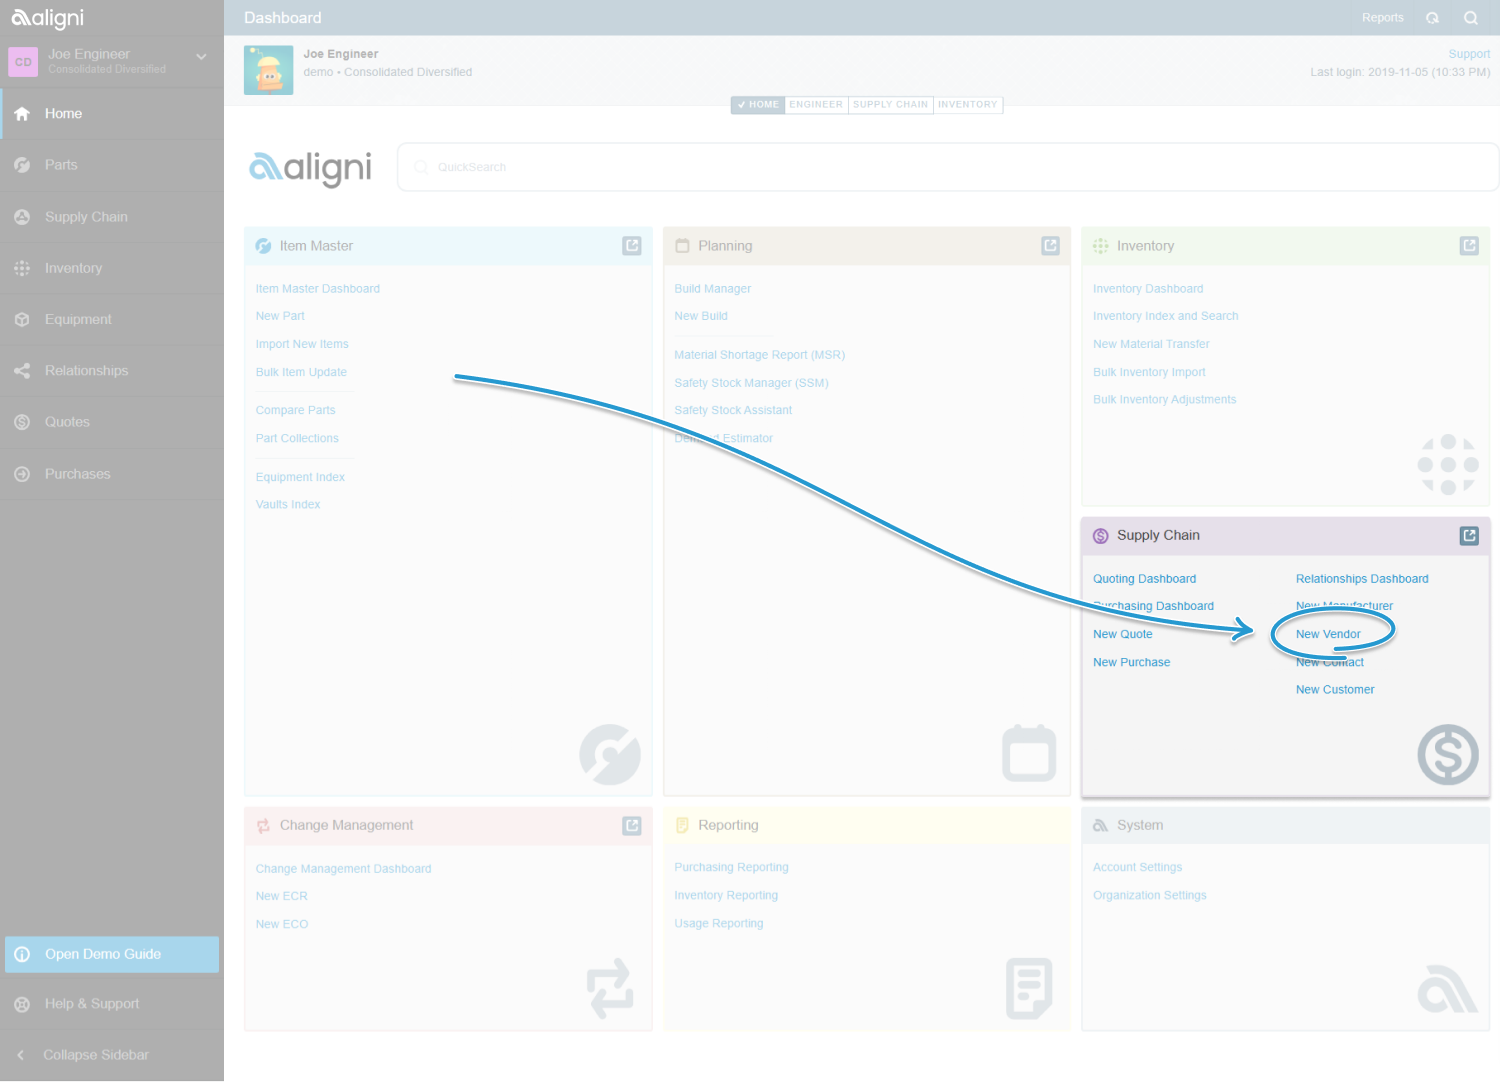
Navigate to the ‘Home’ dashboard.
At the left-hand side of the dashboard, within the ‘Supply Chain’ section, click on the link ‘New Vendor’. This opens the New Vendor screen.
Step 2
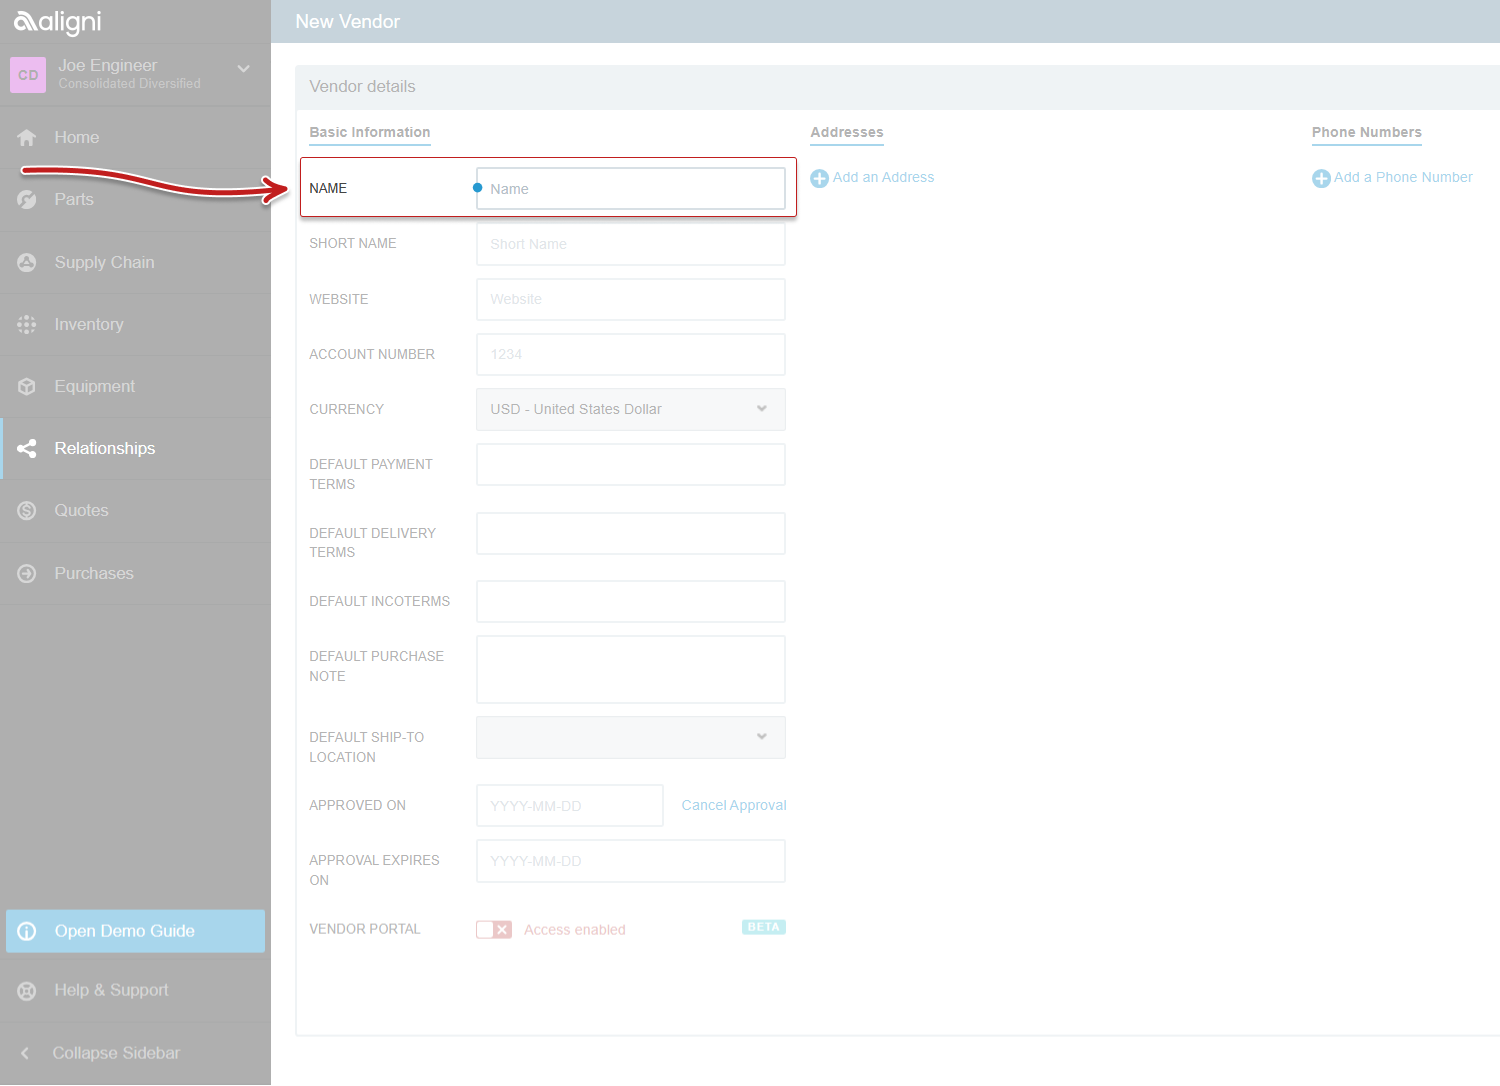
The New Vendor Screen is a form that has three columns. The first column regards the overarching vendor purchasing related information. The next two columns are for addresses and phone numbers, respectively.
Fill out as much of the information as possible for the vendor.
Tip: The fields that have a blue dot at the left are required fields.
Tip: The vendor’s short name needs to be five characters or less
Tip: Aside from the vendor name, all the other fields on this page can be filled out later or changed over time as needed.
Tip: At the bottom of the first column is a switch that can turn on access to the vendor portal for this company.
Step 3
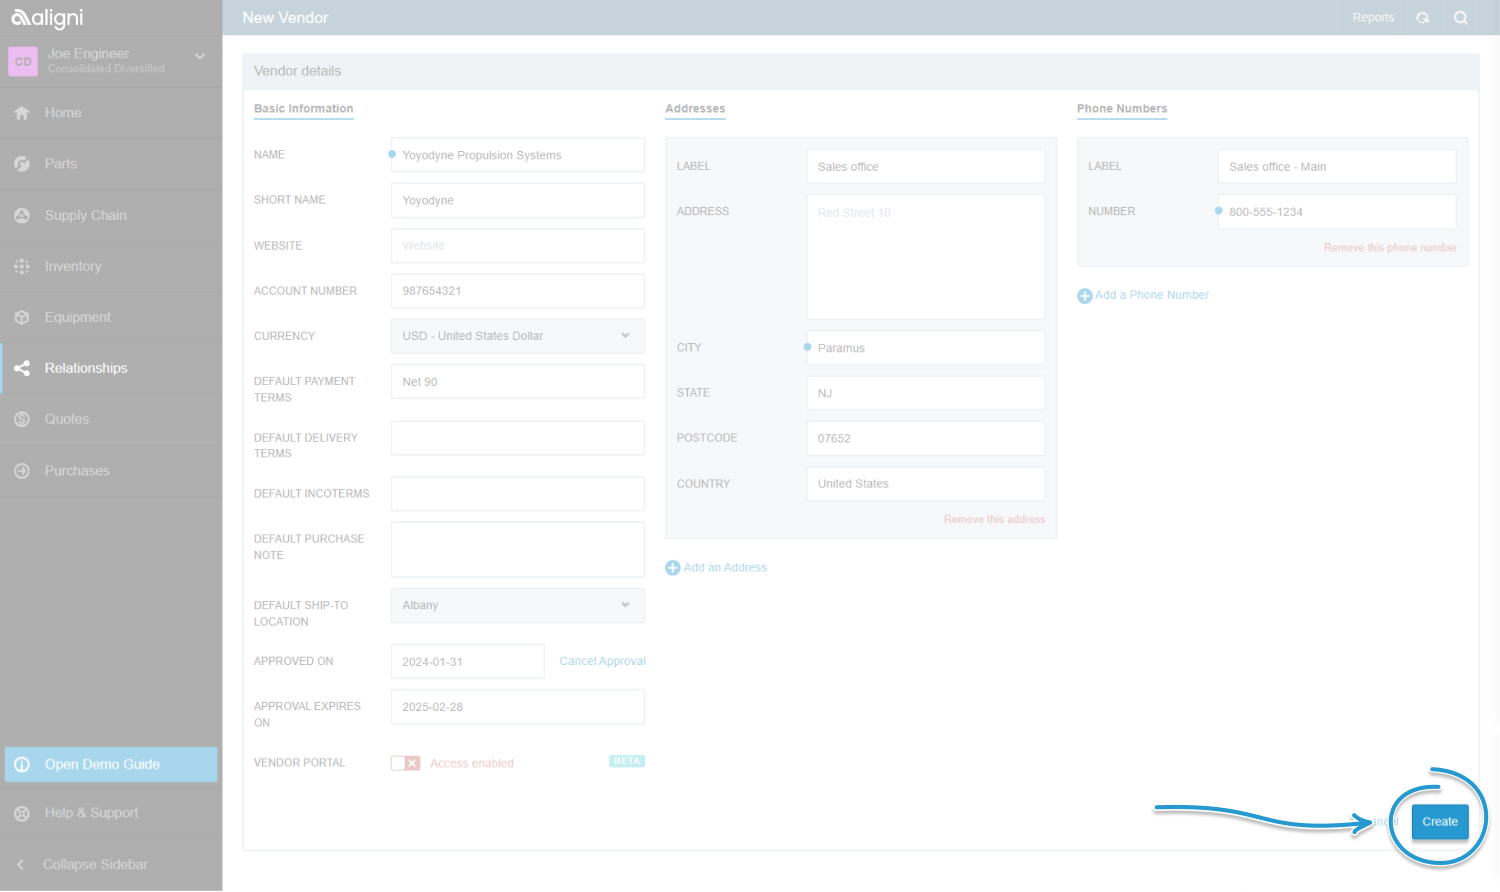
When finished inputting information, click the ‘Create’ button at the lower right of the screen.
Finish!
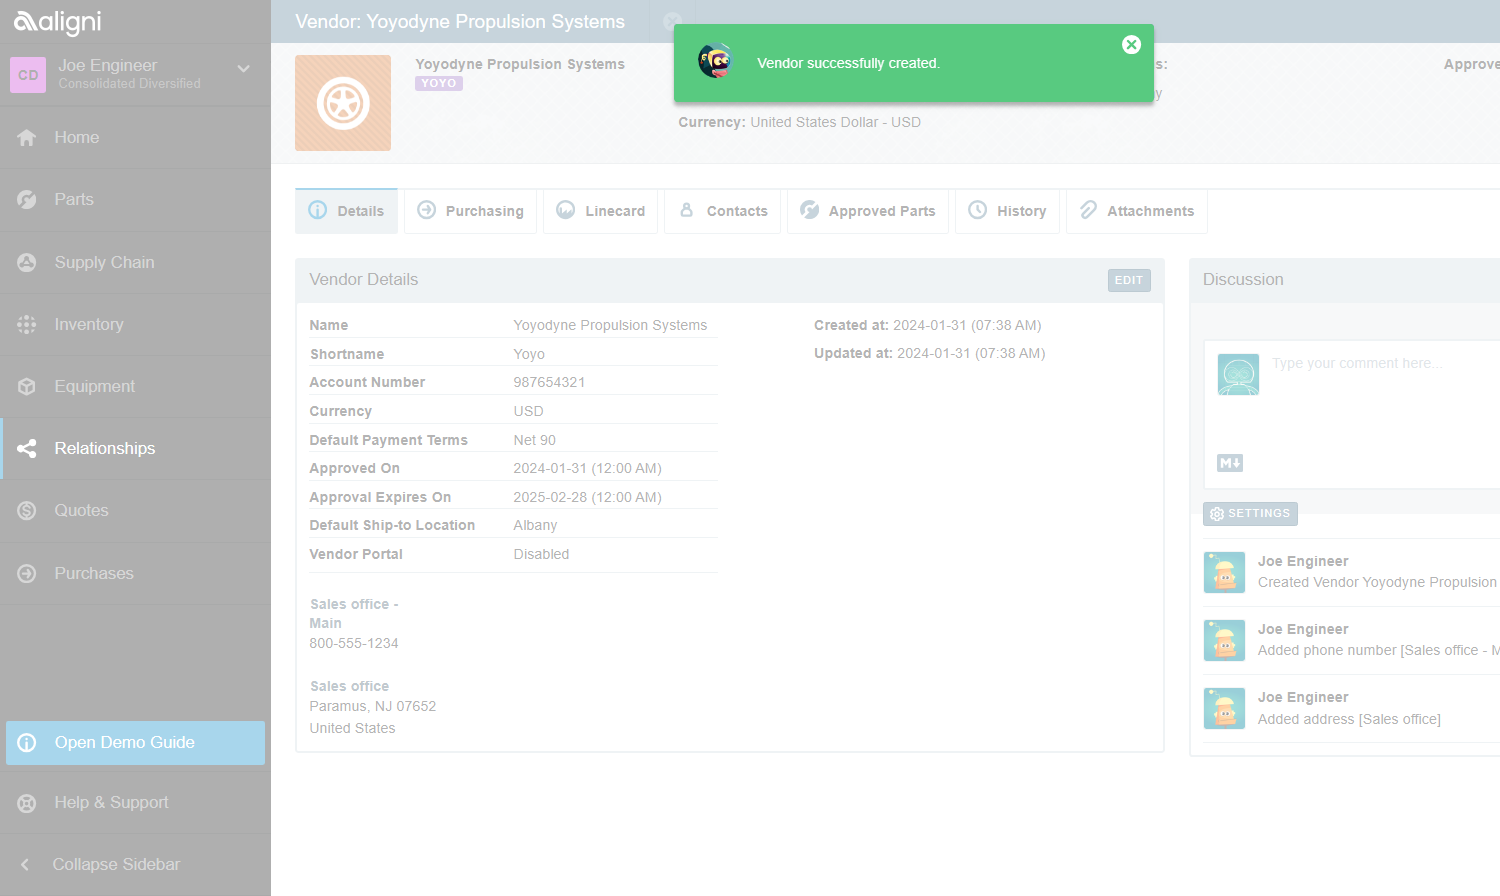
The vendor is now created in the system and accessible for use.
Finding your vendor
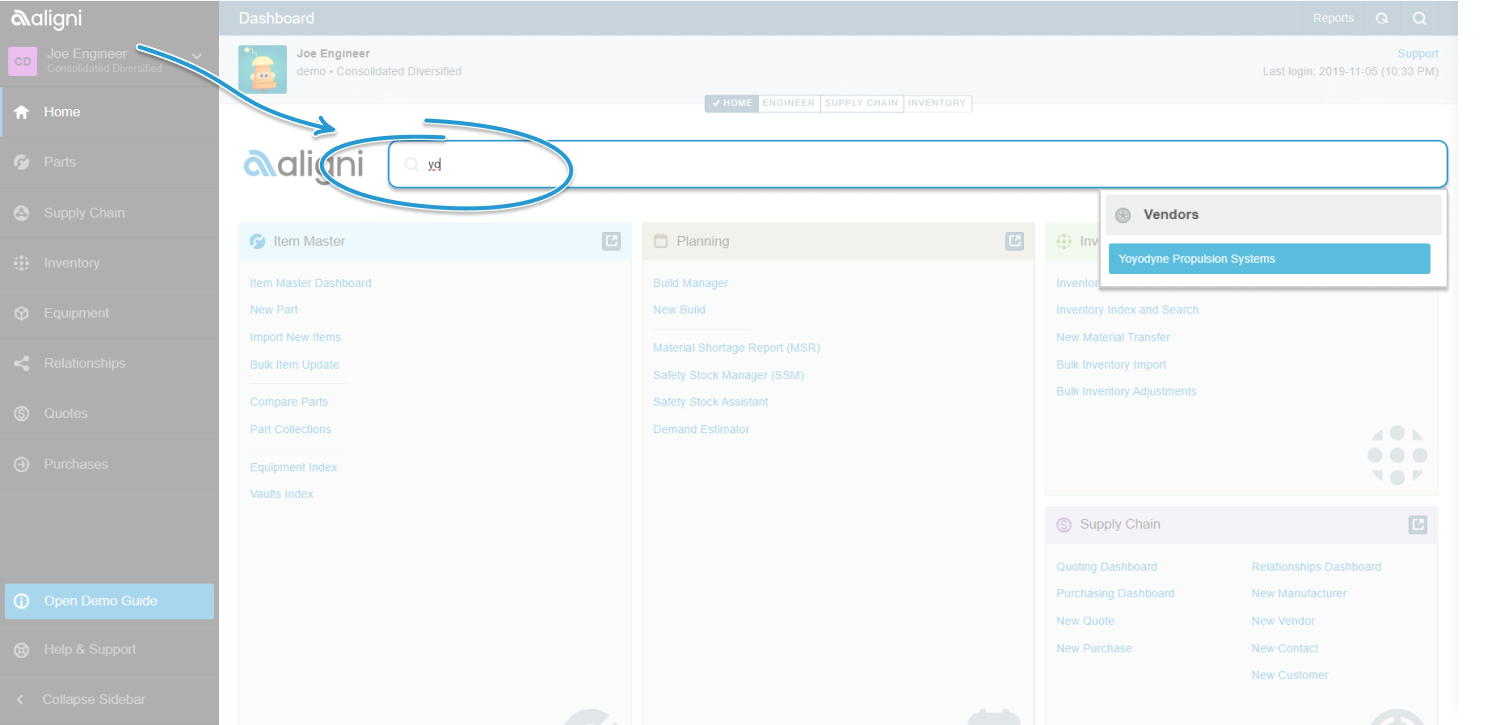
Navigate to the Home dashboard and click into the search bar to the right of the Aligni.
To find the new vendor, start keying in its name.
As it’s typed in the search field, Aligni already starts to match it to names already in the system until it shows the vendor being searched for.
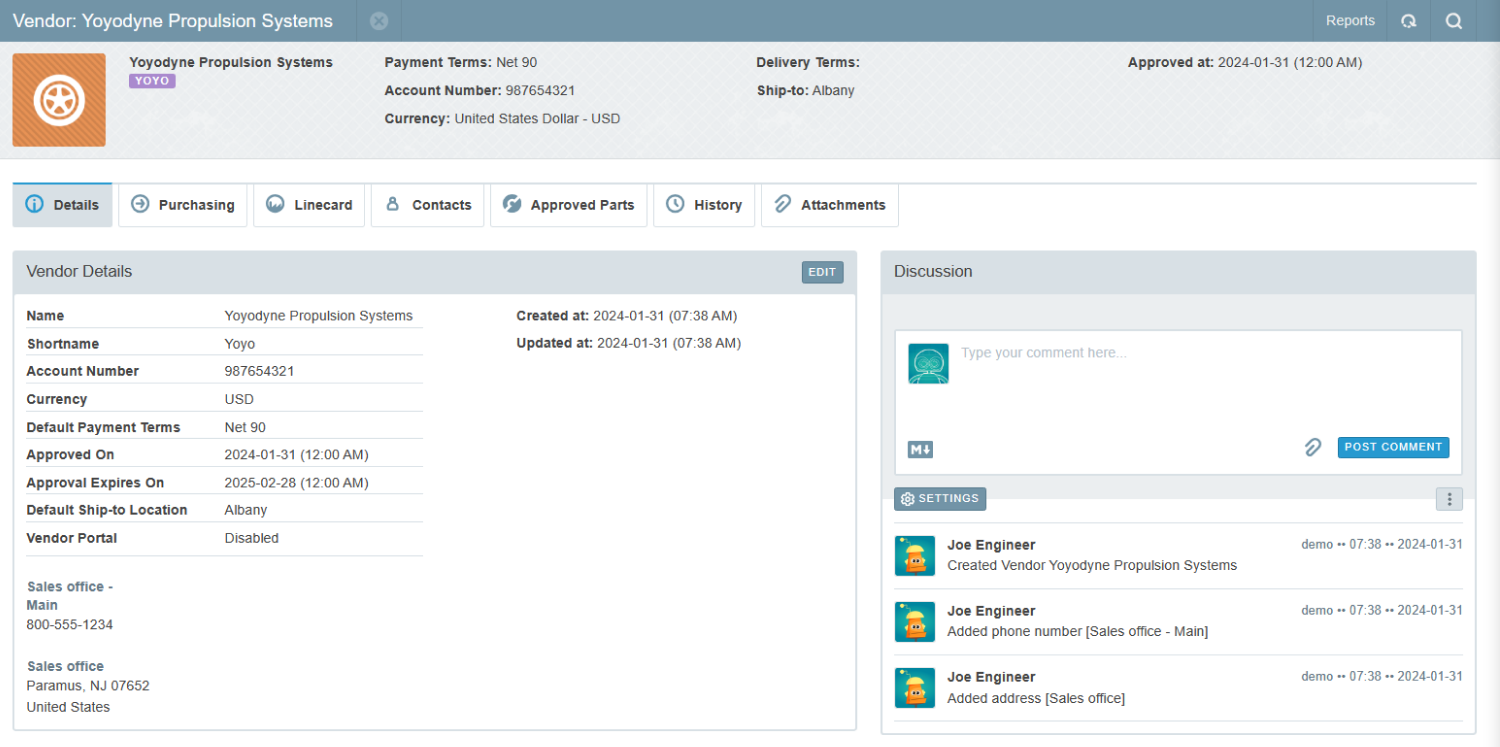
Finish!
Clicking on the result brings the user to the vendor’s page.
Learn more about vendor management in the Aligni system by visiting our documentation site!
Supplier relationships in Aligni
Mastering the Item Master Database
Other Pages in Quick Start Guide: Create a new vendor
- Basics
- Bespoke Support
- Engineering Change Management
- Free Aligni for Open-Source Hardware Projects
- FusePLM Migration
- GraphQL API
- Parts & Vendors Conversion
- Privacy Policy
- Quality Control
- Quick Start Guide: Create a Bill of Materials
- Quick Start Guide: Create a new part
- Quick Start Guide: Create a new vendor
- Quick Start Guide: Create a production build
- Quick Start Guide: Create a Request for Quote (RFQ)
- Spreadsheets Migration
- Vendor
- Parts
- Guides
- API
- ActiveQuote
- Support