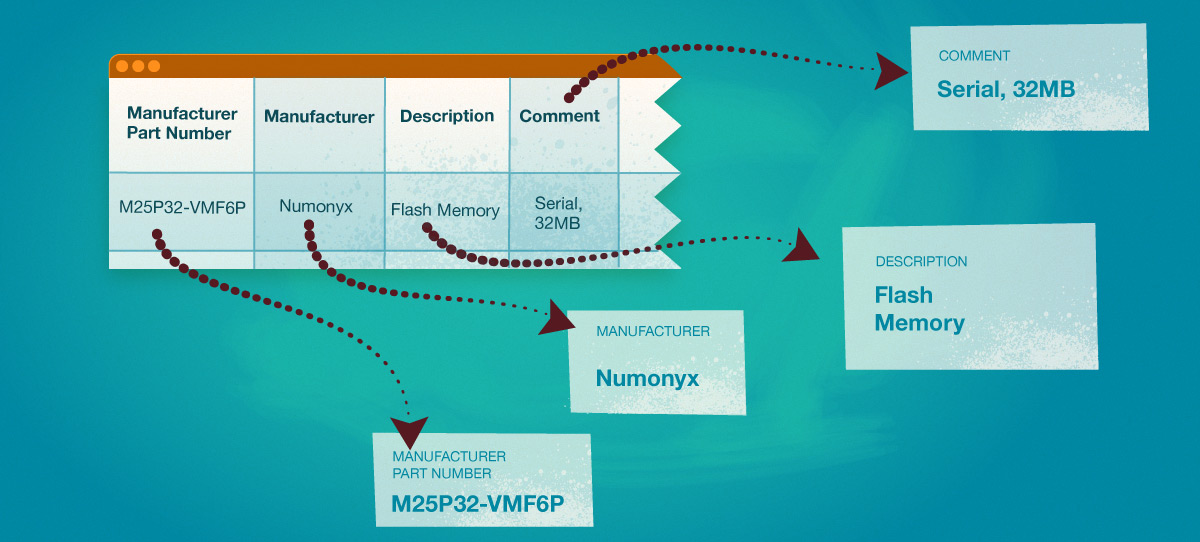
Importing Parts is different than Importing Part Lists. Importing Parts (the topic of this section) is used to create new part entities in Aligni. You import Part Lists when you want to setup a bill of materials for an assembly in your database. Before importing a Part Lists, the entities for the parts on that list must already be created.
Aligni can import the following data from the CSV file you provide. These fields correspond to the fields available when you create a new part.
- Manufacturer – Required
- Manufacturer Part Number – Required
- Part Type – Required
- Use-As Unit
- Description
- Comment
- Value – Value can include SI Unit Prefixes
The part import feature in Aligni is limited to 100 parts per import. If you need to import more parts, you can break your CSV file into multiple chunks. If you have a lot of parts to import with more information than the above list, please refer to our API to automate the process.
Step 1: Upload a CSV File
To begin, upload a CSV file containing the parts you want to create. A copy of the CSV file used for this example is shown below.
If you check “Release parts after import”, then the new parts will be released upon completion. Otherwise, they will remain as draft and you will need to release them manually.
Example CSV Data
"Manufacturer P/N","Manufacturer","Description","Comment","Value","Type" "M25P32-VMF6P","Numonyx","Flash memory","Serial, 32Mb, SO16 (300-mil)","","IC" "CRCW060312K0FKEA","Vishay","Thick-film resistor","SM-0603, 1%, 1/10W","12.0 k","Resistor" "ATUM-3/1-0-STK","Tyco Raychem","3mm x 4', dual-wall","Black","","Heatshrink Tubing"
Step 2: Identify Columns
Next, columns are associated with the data they contain. To help with this task, the selection boxes include the text in the first line of the CSV file. Once a selection is made, sample data is shown in the column to the right. For reference, a handful of rows from the source file are shown at the bottom of the screen in the “Sample CSV Data” table.
This CSV file does not specify a unit for each of the parts, so we’ll choose each as the default use-as unit which will be associated with all of the newly-created parts.
Importing Custom Parameters

Click on “Add Custom Parameter Match” to add custom parameters to import. For option type parameters, Aligni will create new options if the imported data does not match exactly.
Step 3: Create New Part Types, Manufacturers, and Units
In some cases, your CSV file may specify a manufacturer, part type, or unit that is not currently in your Aligni database. The part importer can create these for you and will notify you before doing so by indicating which entities were not matched. Prior to creating the new parts, these entities will be created.
Note: This step is only performed when necessary.

Step 4: List of New Parts
If the parts were created successfully, a list of the new parts is shown. Note that the links to the new parts are all displayed as red. This indicates that the part is uncommitted. The new parts should be reviewed and committed when found acceptable.
If any part types, units, or manufacturers were created, this would be a good time to enter additional information for them.


