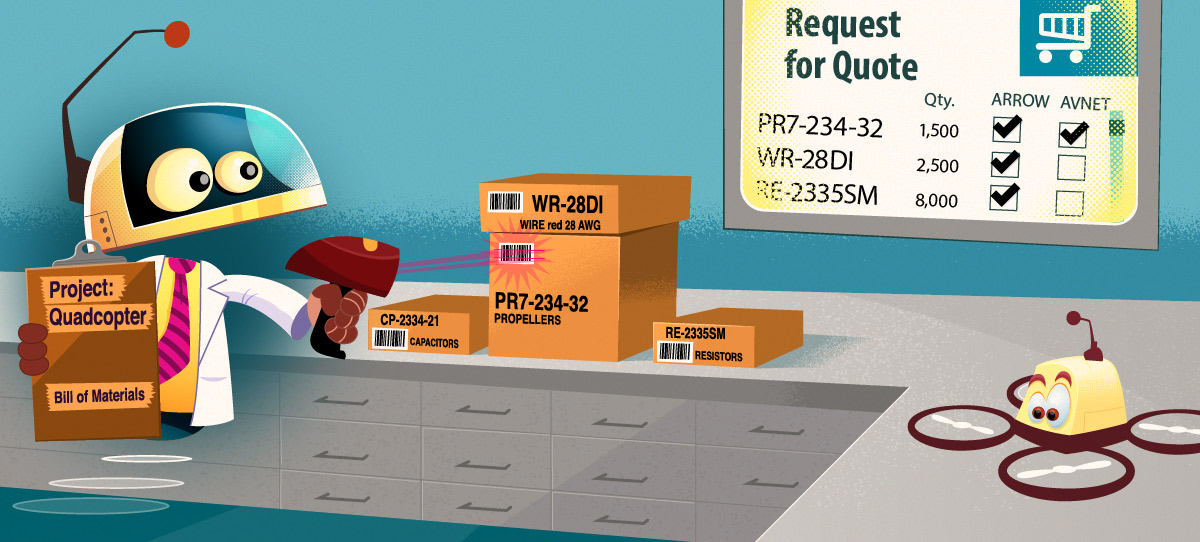
Before you can start a new RFQ, you’ll need to have your manufacturer, vendor, and contact relationships setup properly. For more information, visit this page about setting up suppliers.
Creating a New RFQ
The creation phase starts when you click Create a New RFQ from the Quotes page. A new RFQ is created and automatically selected as the active Part Cart so you can immediately start adding parts. For example, you may want to visit a project’s Kit List Page and add required quantities for a specified quantity build. If you have allocated builds in progress, you can visit the Inventory Shortage Report to add parts that are presently short for your builds.
Part Cart Behavior
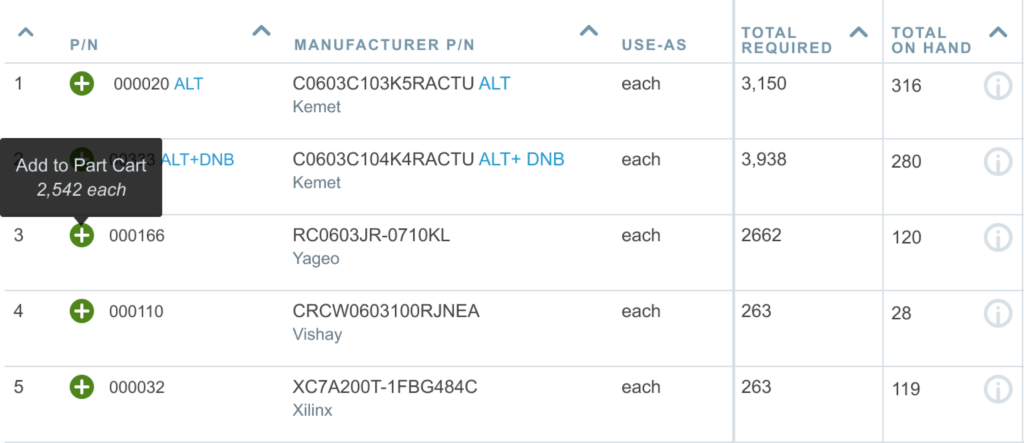
As you add parts to the Part Cart, these parts are added to the RFQ. Some pages (such as the Kit List and Shortage List) will specify a quantity that makes sense according to the page you’re on. For example, if you’re on the Shortage List page, the quantity added to the Part Cart will reflect the number of parts short to complete the build(s). On the Kit List page, the quantity added will reflect the number of parts in the kit.
Some pages also enable the Add All Items on Page button in the Part Cart (the large “plus sign”). Clicking on this button is a shortcut to adding all the items on the page at the appropriate quantities. You can click on the RFQ title in the Part Cart at any time to view the RFQ.
Note About Part Revisions
When you add a part to a quote, a “snapshot” of the part information is stored on the quote so that the quote data remains consistent even if these things change later. If this data changes while you are working on a quote, you will need to remove the item and add it again to the quote.
- Part Number
- Part Revision Name
- Manufacturer Name
- Manufacturer Part Number
Request for Quote Details

The RFQ name and description are displayed at the top left of the screen. Both name and description are in-line editable – simply mouse over the field and click to change them. The name and description fields will be visible on the Quote Manager page, but only the name of the quote will be visible to vendors that receive the RFQ.
Currency
By default the Quote will be requested in your Site Currency. You may select an alternate currency prior to emailing the RFQ to vendors. Once the RFQ has been emailed to any vendor, the Quote currency cannot be changed.
Vendors will see which currency you have requested but will be able to specify an alternate currency for their quote responses. In all cases, a single currency will apply to the entire RFQ.
Adding Vendors
When you first start an ActiveQuote, the vendor recipients list will be empty. As you add parts to the RFQ, Aligni determines which vendors carry those parts on their linecards and provides them as options to Add Vendor. From this list, you can add the vendors as recipients for your RFQ. You can also specify exactly which parts you want each vendor to quote.
Vendor Details
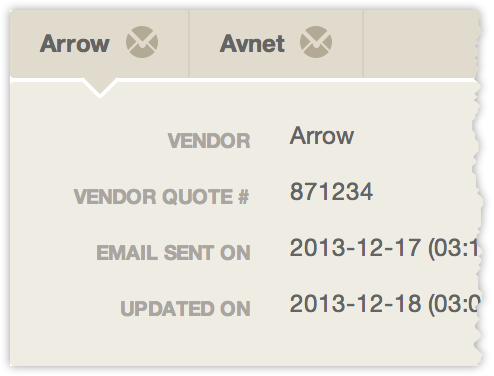
The vendor details panel is shown at the top of the RFQ page. Each vendor has its own tab which can be clicked to expand or collapse additional information about the vendor’s RFQ and response. Once the RFQ has been emailed to the vendor contacts, each tab will populate with status information for that vendor’s response.
A small email icon next to the vendor name indicates that the RFQ has been emailed to that vendor. You can re-send the RFQ at any time by clicking Re-send RFQ in the vendor information tab.
Specify Quantities, Vendors, and Additional Notes
While adding parts to the RFQ, you can change the requested quantity for each part and optionally add a note to the vendor specific to that line item. You can also drag and drop a line item to reorder the items on the RFQ.
By default, each part is added to the RFQ and activated for every vendor that has the manufacturer of the part on their linecard. If a vendor does not carry a particular part’s manufacturer, it will not be selectable here. You can optionally deselect any parts that you do not want a particular vendor to quote.

Vendor Part Numbers
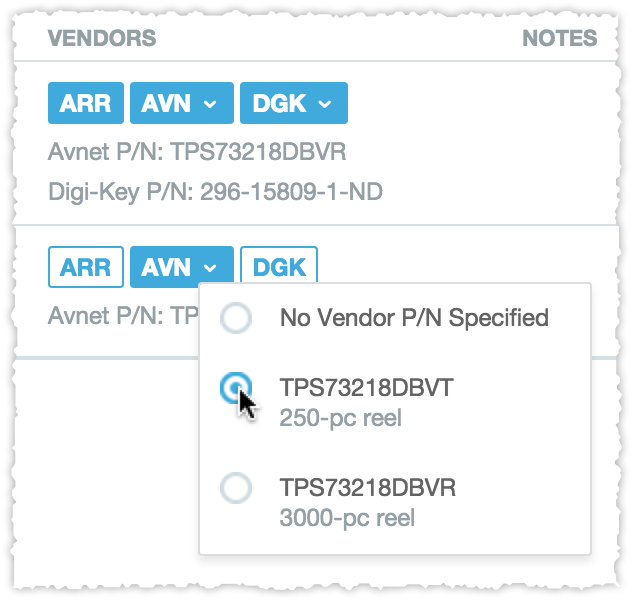
If you have vendor part numbers (VPN) entered for any items, you may reference a specific VPN for each item on the RFQ. When a vendor is selected for that item, a small arrow will appear on the right of the vendor button. Click this to select from available VPN.
The selected VPN will be displayed to the vendor when they review your RFQ. NOTE: Make sure you’re using the the %{vpn} tag in your Vendor Part Display Style for the vendor to see this information.
Attachments
Attachments may be added to the RFQ on the attachments tab with optional visibility to the vendor. If a particular attachment is visible to the vendor, they will receive an indication of this in the email sent and will need to visit the Aligni RFQ page to access the attachment.
Note that attachments may be added at any time, but may only be removed when the quote is in the DRAFT state.
Quantity Helper
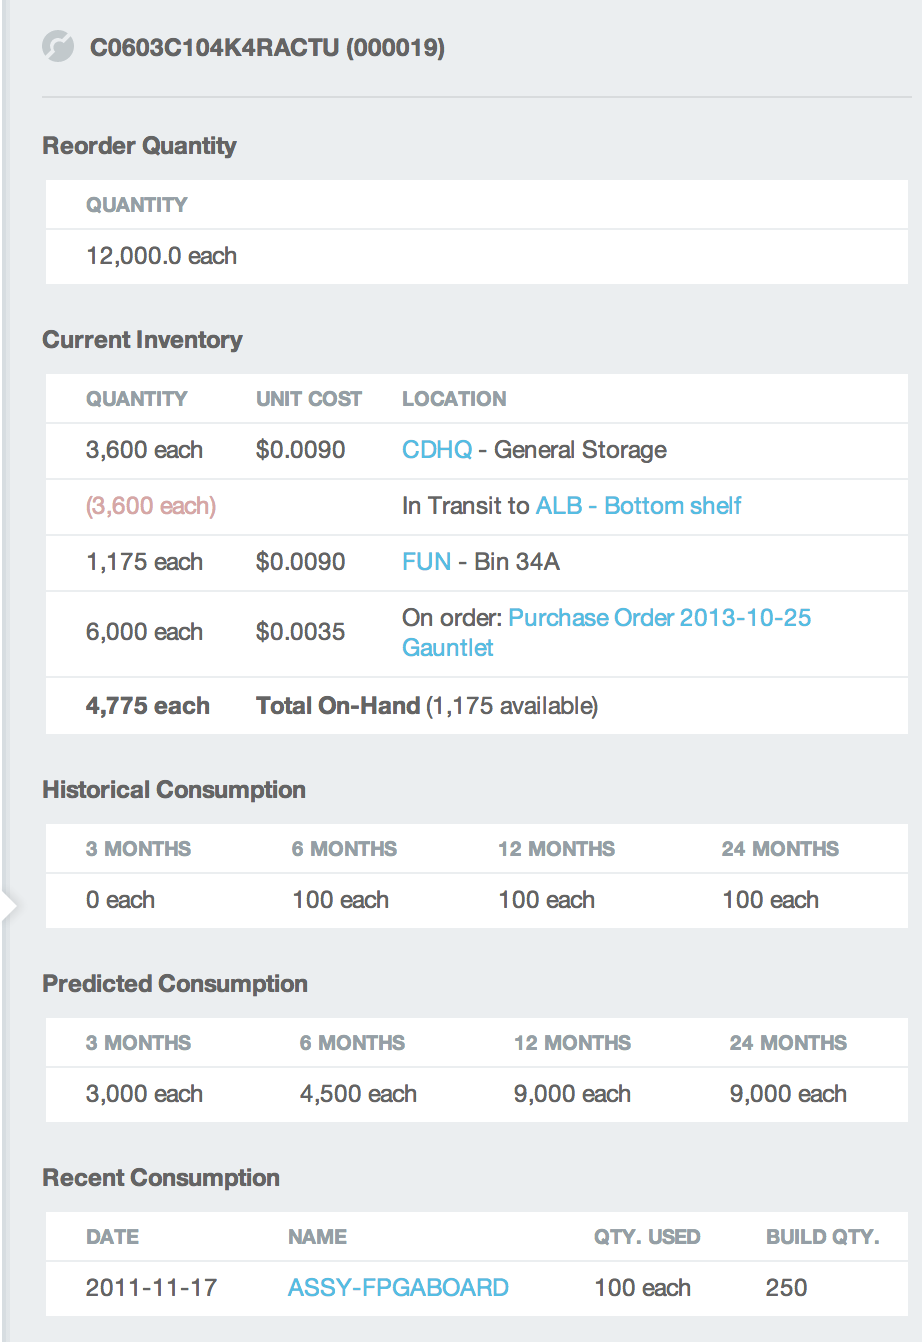
Click on a question mark in the quantity column to show a Quantity Helper listing useful information about the part to help you determine the requested quantity for the quote. Included in the Quantity Helper is:
- Current inventory summary
- Historical consumption over the past 3 months to 24 months
- Predicted consumption (based on planned builds) for the next 3 months to 24 months
- Recent builds and quantity consumed
- Active partlists (BOMs) that include the part
If your browser window is wide enough, the quantity helper information is displayed in a sidebar panel to the right. It automatically updates as you enter quantity information.

